 Really, my entryway has been in a major need of a remodel. I don't plan on doing any painting, just a new way to organize the coats and maybe if my husband lets me, replace the light fixture.
 Now this project probably sounds familiar, after all it was just a few months ago when I built the Shoe Pallet Storage Bench for my mud room.
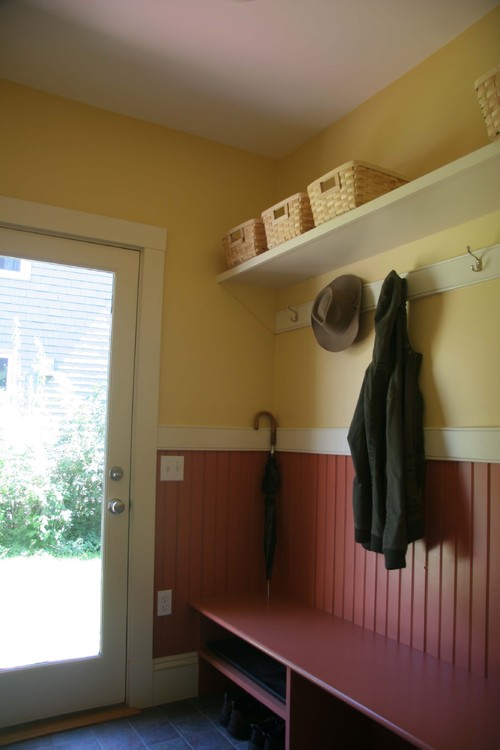
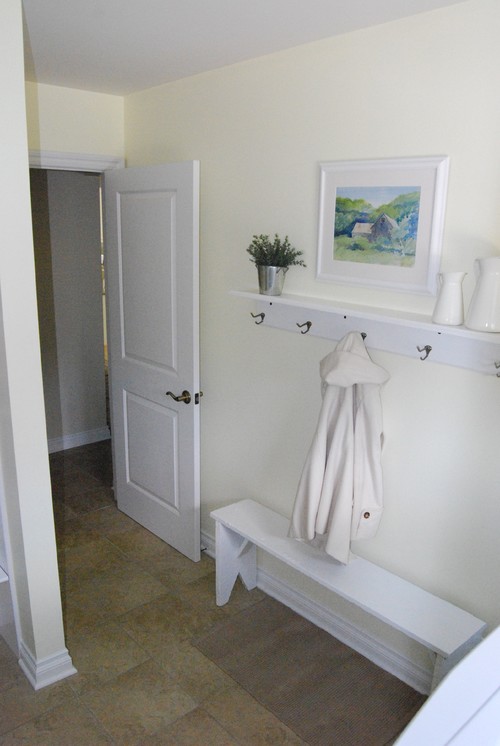
 Which has been so helpful, but in my current entryway I already have a large chest that serves as a bench and toy box. I wanted something somewhat quick and I have had some ideas in mind. Here are a few examples I found of how I would like to remodel my entryway:
In the pic below, I love the baskets for some extra storage. It's a great idea for all the gloves and hats we need during the winter time.
If I don't need the storage, having a shelf above the hooks adds extra area for decorating too.

Like this post?
Pin It
If I don't need the storage, having a shelf above the hooks adds extra area for decorating too.
I love the framed numbers and baskets, but not quite sure I really need numbers in the entryway.
source
source
Yesterday, I was at Hobby Lobby and I found some super big coat hooks (like in the picture above) and matching cast iron L-brackets, perfect for a shelf! My idea-- make a shelf with the L-brackets and place a rustic piece of wood below with my large hooks attached to them. It's seems pretty simple, with the exception of me finishing the wood (which I hate sanding) but overall should be a somewhat quick project. I think for the top of the shelf, I will have a couple baskets with some frames in the middle. Enough for some extra storage if needed.
Wish me luck and stay tuned for the results!

Like this post?
Pin It


Love your idea, I love the 1st photo's coat stand.
ReplyDelete