Monday, February 27, 2012
Unhealthy Eating/Drinking Habit Confession

Sunday, February 26, 2012
Sophisticated Finds: Beauty Product Miracle "BB Cream"

...
BB Cream (aka Blemish Balm, Beauty Balm, Blemish Base, Beblesh Cream) is already a huge success in Asia but it is just starting to drift over to the
United States.
If you'd like a more thorough description you can read about it on daily glow.
The more and more I read about it the more I wanted to try it.
And well, you know me, I gave in ;)
BEAUTY PRODUCT BREAKTHROUGH! WOO HOO!!!
~Christi

Friday, February 24, 2012
DIY Pantry Door Redo #1


Like this post?
Pin It
Monday, February 20, 2012
40 Days & 40 Nights Cleaning Challenge
 No matter what your religion, most people have hear of Lent and the practice that many Christian religions observe a period of fasting, repentance, moderation and/or spiritual discipline. In my family, each year for Lent we would either abstain from something we enjoyed or make it a personal goal to work on something we didn't enjoy.
Like this post?
Pin It
Sunday, February 19, 2012
Sophistication Sundays - 5 Beauty Rituals

Queen Helene Mint Julep Masque
Mint Julep Masque is the original natural home treatment developed by a dermatologist that helps dry up acne pimples, rinse away blackheads and shrink enlarged pores. Simply apply Mint Julep Masque to your clean face and neck. Within minutes it firms and hardens, drawing out impurities from your pores. After the masque is removed, your skin will feel clean, refreshed and smooth.
Not only is this masque amazing but it is SUPER affordable! I purchased mine at Walgreen's for around $3 and the bottle lasts forever. I apply this to my face once a week and it helps to treat current breakouts as well as cut down on blackheads. The only downside is that the green masque is a bit stereotypical, i.e. it's gives you the look of the mom on sitcoms that would scare little kids away. My hubby seems to put up with it though so I guess it isn't that scary ;)
Tree Hut Coconut Lime Shea Sugar Body Scrub
Delight your senses as you smooth your skin with the fresh, botanical combination of coconut and lime. The sugar grains will softly smooth away excess dry skin while Shea and Coconut Oil replenish moisture to your skin.
Since I switched to the non-tanning bed lifestyle last summer I knew I had to find a great scrub for exfoliation. I picked this one up at my local Wal-Mart because I liked the smell (so summery!) and because it was fairly inexpensive. I use the scrub once a week and am always amazed afterward how soft my skin feels.
...
So what are your beauty rituals? Do you have a product you use weekly or something you swear by?
Let me know in the comments below! I love finding great new products :)
~Christi
Thursday, February 16, 2012
335 Calorie Mug Brownie!
2 Tablespoons Sugar
2 Tablespoons Cocoa powder
2 Tablespoons Water
 Pour in 2 tablespoons of Splenda,
 4 tablespoons flour,
 2 tablespoons of sugar,
 2 tablespoons of cocoa powder,
 and 2 tablespoons of cold water.
 Now stir until somewhat smooth.
 Pop into microwave for 50 seconds.
 Remove from microwave and enjoy your chocolatey bliss!
 And for those of you wanting the nutrition information:
Wednesday, February 15, 2012
Entryway Remodel (DIY Wall Coat Rack & Shelf) Complete


 A vast improvement! Building this shelf was so easy, so I thought I could do a quick DIY on the subject.
Qty 1 1"x12"x8" pine board = Home Depot $14.98
 Once you mark your studs, determine from there how long to make your shelf. I decided to make my shelf 68 inches long and the coat rack 66 inches.
  (As a side note, my brackets have 4 holes on each to attach to the stud. To make sure I was in the center of the stud, I nailed in a small finishing nail into the wall where I marked to drill hopes to make sure I would hit the stud. Good think I did this too, because one of them was only partially on the stud. The small holes of a finishing nail are easy to cover up and prevented me from having half of my bracket into the stud and the other just into the sheet rock.)
  But you will still have an ugly light fixture :(
 1:00pm- Time goes so slowly waiting for things to dry! The poly coat is finally dry and time to make sure my shelf is level. Place your board on the L-brackets and....
 see how good you are at measuring. Luckily, I measured about 5 times so mine came out level. Now using your 1/2" screws, attach the board to the L-brackets from the bottom.
 1:30pm- Attach the hooks to the main coat rack board. The spacing of the hooks are up to you, but I decided (and have found it easiest) to start on the outsides and work my way in. I made each outside hook 3 inches from the edge of the rack and then spaced them evenly on the inside. Using the rest of your 1/2" screws, attach the hooks to the board.
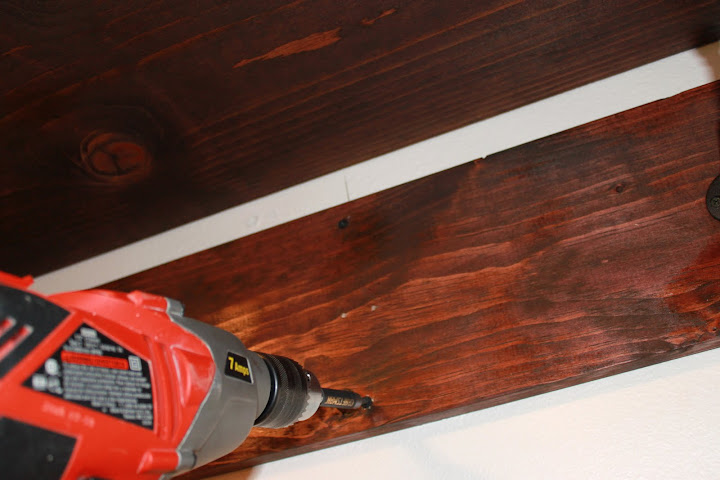
 2:00pm- Hang the coat rack on the wall. To do this, mark where the studs are under the shelf. This will be where you want to drill screws through your coat rack into the wall. I marked them with a line just above where I want to hang my coat rack. With some help, someone can hold up the shelf while you screw it in. I attached two screws, one on top and bottom, on two studs under the shelf. If you notice from the picture there is no hook. I removed the hook so I could drill the hole easier.
 Reattach your hook if needed, and enjoy your new shelf and coat rack!
 However, my job was not finished there. I had an ugly light fixture to still replace. Luckily, I found a new one for $8 on clearance at Menards and using my guide to hanging a light fixture, I installed a new one.
 Also, I found some baskets around the house, a few pictures, and one of my metal scupture to complete the decorating part. One basket holds hats and the other gloves. Though I can't lie, I haven't exactly filled the back frame yet. Those are the pics that came with the frame :)
 I love the way the entry way looks and it works for our coats.
 And we have completely filled it up already!

Like this post?
Pin It


